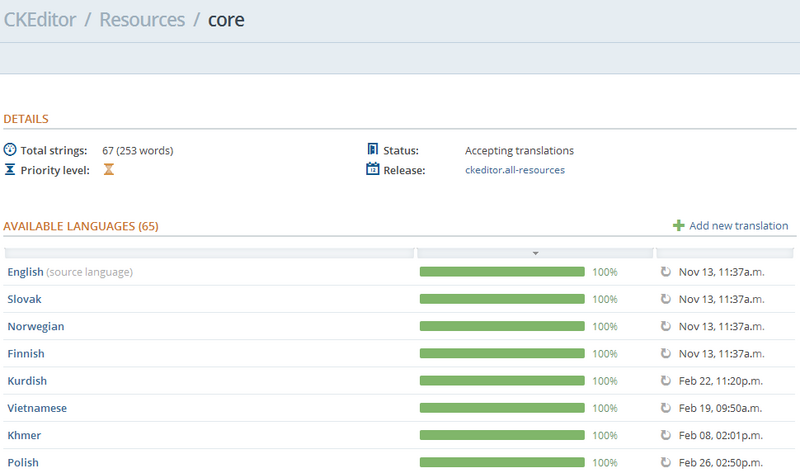
After you are accepted as a member of a CKEditor translation team, you will be able to contribute your translations. In order to start translating, go to the team page and choose a resource that you would like to work on, like CKEditor core or one of its plugins.
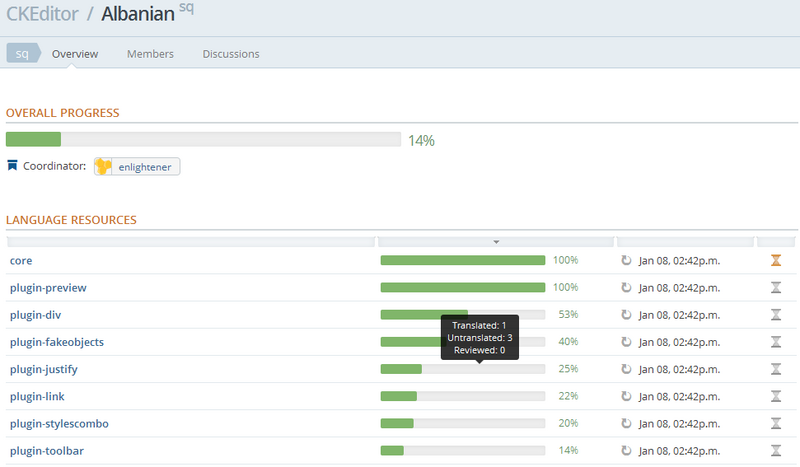
Pay attention to project resource statistics on the main team translation page. The Completion column shows you the completion status of a given resource in a percent value. When you hover over the completion bar, the number of translated and untranslated language strings will be displayed in a tooltip.
Please note that it is recommended to complete missing translations before attempting to correct the existing ones.
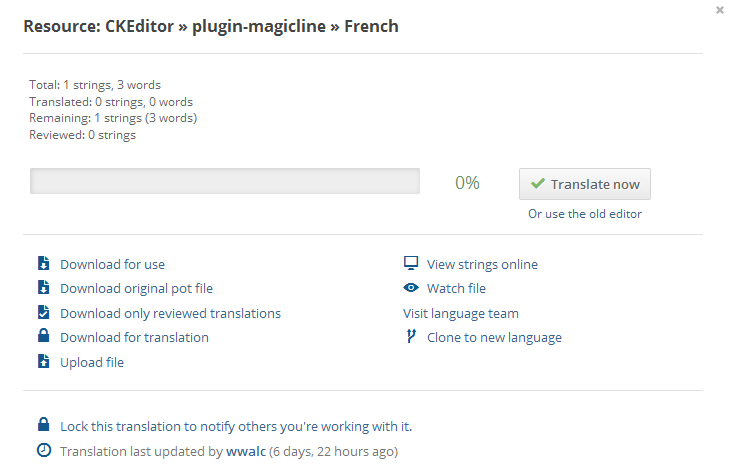
When you choose a translation resource, a pop-up window with various options for a given resource will be displayed. Depending on your permissions (i.e. whether you are a team member) you will be able to download the translated version of the resource as well as the original language file, view the language strings online, see the resource status and, last but not least, start translating.
Translating a Resource
After you are accepted as a language team member, you can go to the team page and view the resources available for translation. Choose an incomplete translation that you want to start working on and check its statistics on the Translation Details pop-up that will open.
The translation process can be performed in two ways: online and offline.
- Online translation – uses the built-in Transifex editor (codenamed "Lotte") and lets you translate the strings in your browser, without the need to download or upload any files and even see the source file format. This is a recommended method, especially for the beginners.
- Offline translation – requires downloading the language file to your local computer and uploading it back to Transifex when you are done. This method is only recommended for more experienced users.
Online Translation
If you want to translate online, go to the language team page and choose a resource that you want to work on from the resources list. In the Translation Details pop-up that opens click the Translate now button.
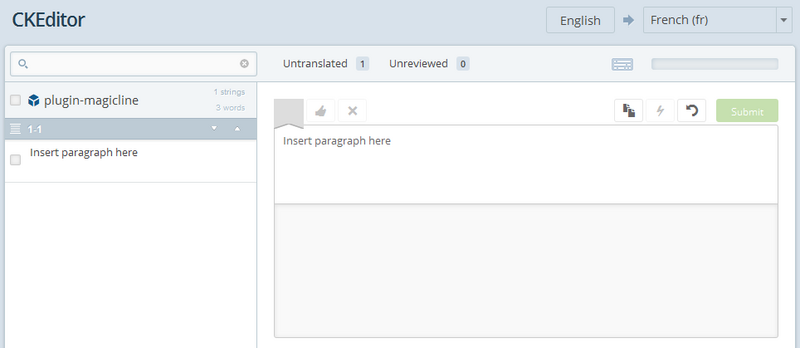
The online editor that will open ("Lotte") shows you the list of language strings that need translating. By default only the untranslated strings are displayed, but you can change this setting by checking and unchecking the boxes in the top left-hand corner of the screen.
If you know more languages and having a translation to one of them would be useful to you, you can choose to display other translations alongside the source version by checking them in the More languages drop-down list.
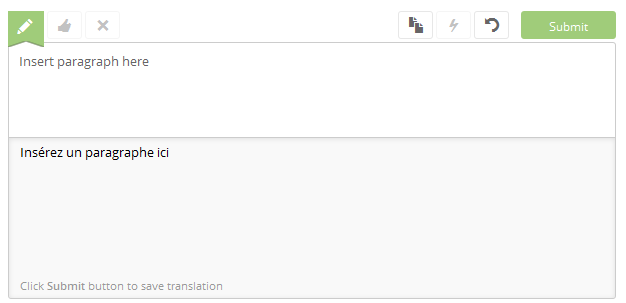
You are now ready to go. The Source String column displays the language string in its original version (for CKEditor — in English). The Translation column is where you should enter your translation.
The language strings in the Translation column are color-coded. A green left border means a translated entry, a red one — an untranslated entry and the blue one is a modified one.
Continue translating the language strings until you are done. You can use all the tools that are normally available in Transifex and described in the official documentation, like auto translate, copy source, history, spell checking and so on.
Transifex saves the translations automatically as you go from one language string to another. You will see the "Saving..." caption on the top of the page when you move forward.
When you are done, click the Save and Exit button to finish your work. You will be redirected to the resource page where you will be able to see the status of all translations of a given project resource.
You can now go back to your language team page and choose another untranslated resource to work on.
Offline Translation
If you want to translate offline, go to the language team page and choose a resource that you want to work on from the resources list. In the Translation Details pop-up that opens choose the Download for translation option.
When you choose this option, Transifex will lock the file to prevent multiple translators from working on the same resource and possibly duplicating their efforts. The file will be locked for up to 48 hours and if you do not upload the translated file during this time (or extend the lock by using the Transifex UI), it will become available to other translators after that.
You will be prompted to save the file on your local computer; please note that it will have the .po extension that comes from the gettext format.
You can now open the file with your favorite gettext editor and add your translations. When you are done, go back to the resource's page on Transifex and upload the file by using the Upload file button. While the upload is in progress, a suitable notice will be displayed in your browser.
When the upload is finished, your translations will be added to the project and the file lock will be released.
