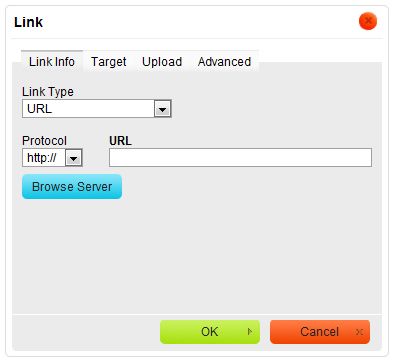
Your CKEditor for SharePoint installation may be integrated with CKFinder, a file manager designed for Internet browsers.
To turn CKFinder on, choose Yes in the Enable CKFinder section of the CKEditor – Site Collection Settings page. After CKFinder is enabled, select the Site and Picture Library from the drop-down lists in the CKFinder configuration section.
[[Image:CKESP{{{version}}}_configuration04.png|frame|center|CKFinder integration with CKEditor for SharePoint {{{version}}}]]
If the Picture Library drop-down list is empty, you need to create a new picture library. To do so, go to the Site Settings page, choose Site libraries and lists, and click the Create new content option.
In the Create page choose the Picture Library option from the available library types.
[[Image:CKESP{{{version}}}_configuration04b.png|frame|center|Creating a new Picture Library for CKFinder in SharePoint {{{version}}}]]
Besides naming and describing the library you may also set other configuration options. When you are ready, click the Create button.
[[Image:CKESP{{{version}}}_configuration04c.png|frame|center|Picture Library options in SharePoint {{{version}}}]]
After you return to the CKFinder configuration section on the CKEditor Site Settings page you will be able to choose the newly created picture library.
[[Image:CKESP{{{version}}}_configuration04d.png|frame|center|Adding a CKFinder Picture Library in SharePoint {{{version}}}]]
When you are ready, click the OK button. CKFinder will now be active on the site and you will be able to use it by clicking the Browse Server button on some CKEditor for SharePoint dialog windows.
