After CKEditor for SharePoint is installed, it automatically replaces the default SharePoint rich text editor in all places where it was enabled for content creation. This means that once CKEditor is activated for a site collection or site, you can use its advanced text formatting capabilities to create blog posts, calendar events, tasks, announcements, discussions, or other content types.
When enabled for a site collection, CKEditor for SharePoint comes in two flavors, depending on the content type. Some content types require a rich text editor albeit with limited formatting capabilities that include, among others, bold, italics, text alignment, and hyperlinks. In this scenario, used for example for calendar events, agenda items, or tasks, the CKEditor toolbar contains a limited set of buttons. Other content types, like blog posts, discussions, or announcements, often require an extended rich text editor that includes all the features of the standard rich text editor as well as image and table support. If this is the case, the CKEditor toolbar will contain more advanced editing functions.
Note, however, that the CKEditor toolbar configuration for the rich text editor and extended rich text editor option can be customized by the system administrator according to the needs of your SharePoint installation. This means that some options may or may not be available in any of the scenarios described in this article. If you feel that CKEditor should contain some functions that are currently unavailable for a particular content type, contact your local system administrator.
Using CKEditor in a Rich Text Field
When CKEditor for SharePoint is enabled, it will be used to create and edit all content types that would normally be supported with a built-in rich text editor. As a user, you do not need to turn CKEditor on or alter your workflow in any way — once you attempt to create or modify an element such as a calendar event, an agenda item, or a task, CKEditor will replace the default editing area.
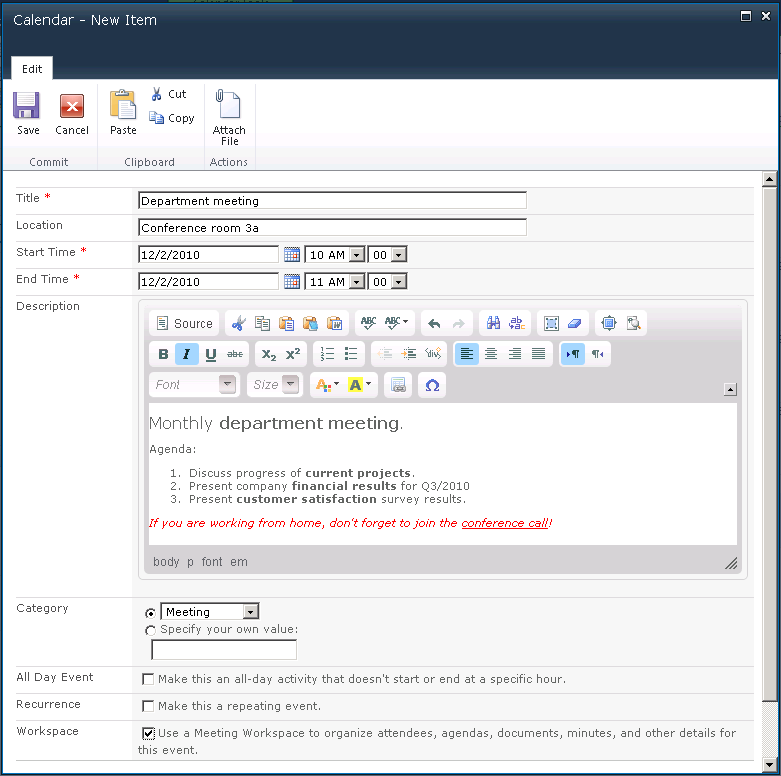
Suppose, for example, that you want to add a meeting event to your SharePoint calendar. When you click the New Event button or use the Add link in your calendar, the Calendar – New Item popup window will appear. You can now use the CKEditor advanced formatting capabilities to describe the new event with as much detail and eye-candy as you prefer.
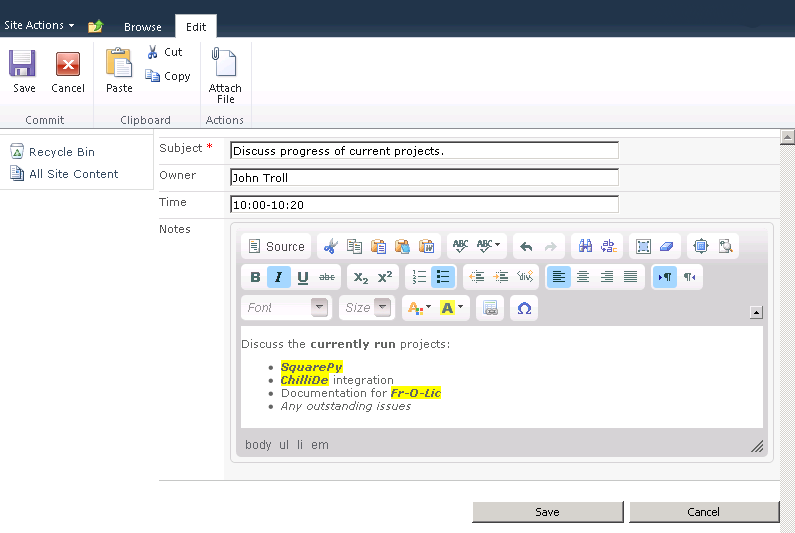
If you create a Meeting Workspace for the newly created meeting, you will be able to add further details to your calendar event. When, for example, you want to describe the meeting agenda, click the Add new item link in the Agenda section. The Agenda – New Item site that will open lets you create a new agenda item with CKEditor.
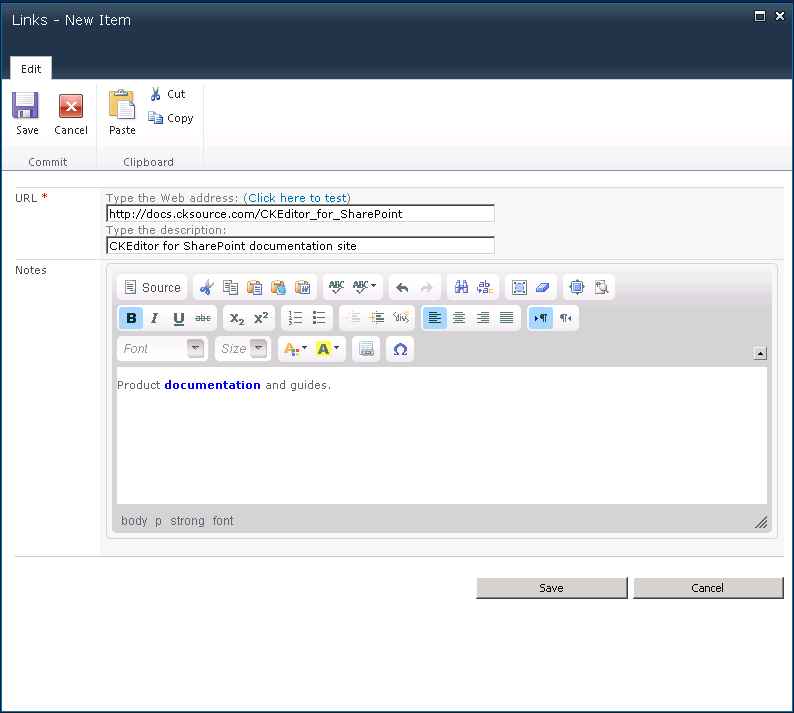
The availability of content types in your local SharePoint installation depends on the needs of your organization, but you are bound to find CKEditor rich text editor in areas like calendar and agenda items, tasks, or any other content type whose multi-line fields were configured as rich text fields. The figure below shows CKEditor in the Notes field of the Links – New Item window when its type is changed to rich text field.
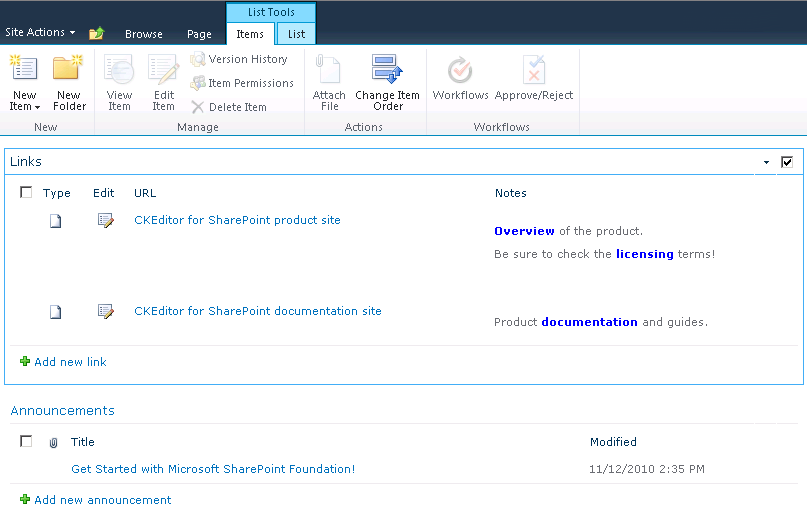
When you are done editing, click the Save button. The link will appear in the link list along with a note created with a rich text editor.
Using CKEditor in an Extended Rich Text Field
When CKEditor for SharePoint is enabled, it will also be used to create and edit all content types that would normally be supported with a built-in extended rich text editor. Again, as a user, you do not need to turn CKEditor on or alter your workflow in any way — once you attempt to create or modify an element such as a blog post or a discussion item, CKEditor will replace the default editing area.
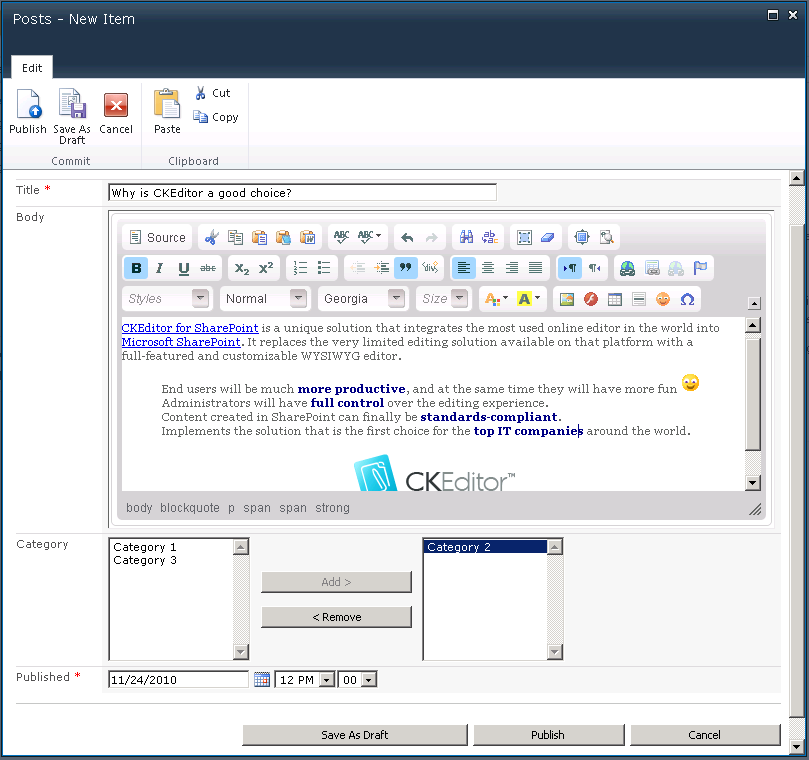
Suppose, for example, that you want to add a post to your SharePoint blog. When you click the Create a post link in your blog, the Posts – New Item popup window will appear. You can now use the CKEditor advanced formatting capabilities to create a blog post along with all the fancy styling, links, and media like images and Flash objects, that you wish to have.
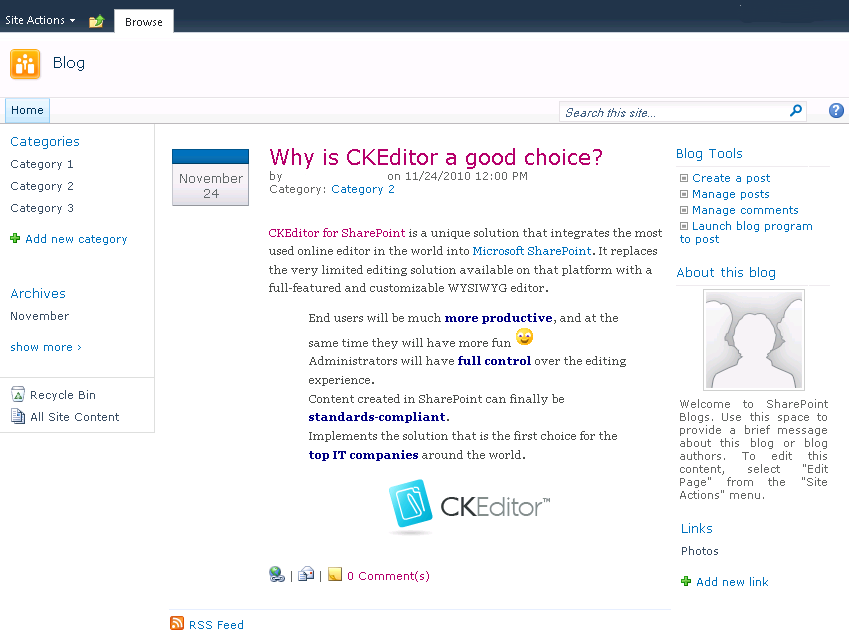
When you are happy with the contents of your blog post, click the Publish button. The post will appear on the blog along with all the formatting and content added with an extended rich text editor.
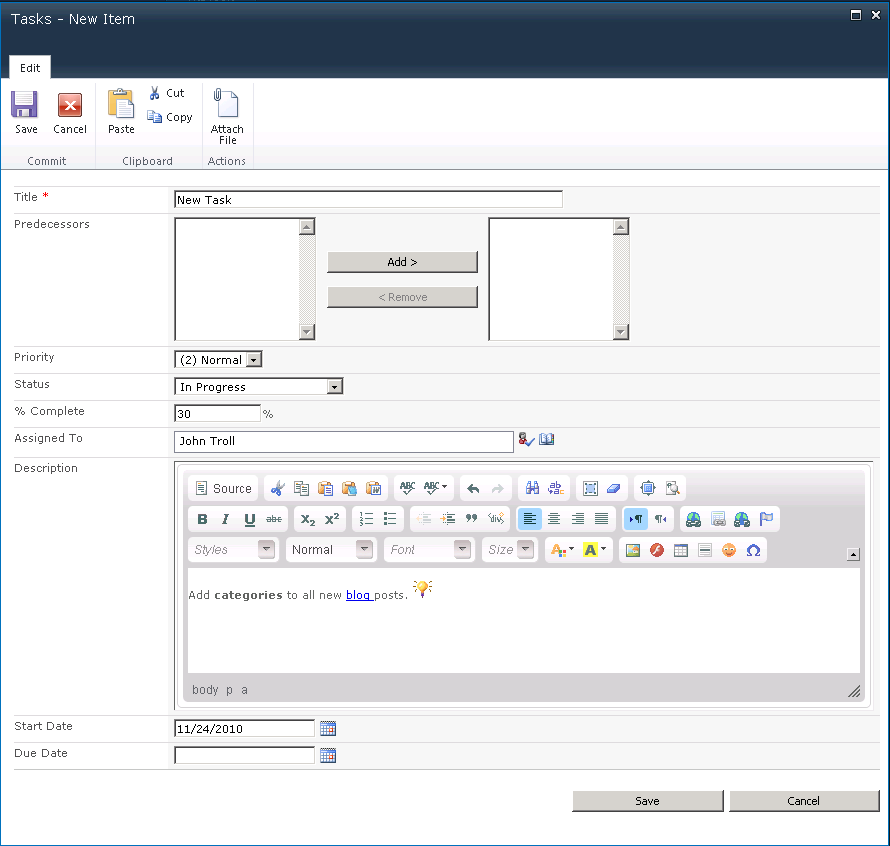
Again, the availability of content types in your local SharePoint installation depends on the needs of your organization, but you are bound to find CKEditor extended rich text editor in areas like blogs and discussions, or any other content type whose multi-line fields were configured as extended rich text fields. The figure below shows CKEditor in the Description field of the Tasks – New Item window when its type is changed to rich text field.
