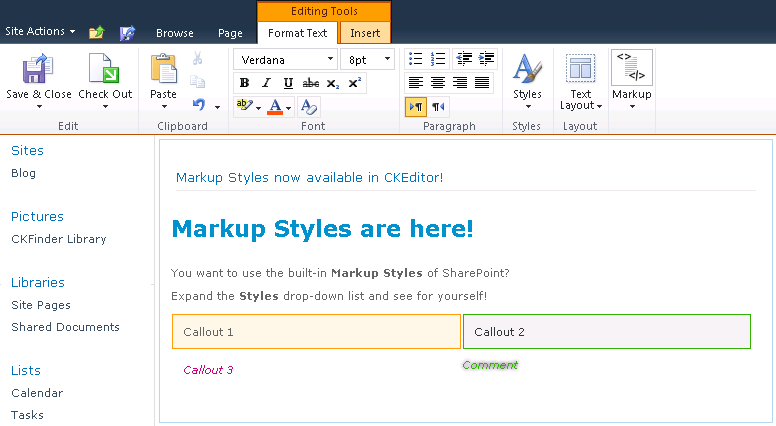
Besides replacing the default editor built in SharePoint and serving as a building block for a web part page, CKEditor for SharePoint can also be quick added to any SharePoint page directly via the SharePoint ribbon button.
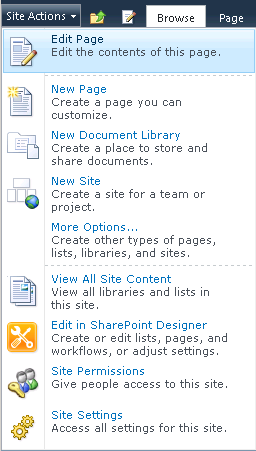
To use the Quick Add function, enter the editing mode on a selected page by choosing the Edit Page option from the Site Actions menu.
Select the part of the page that you want to edit.
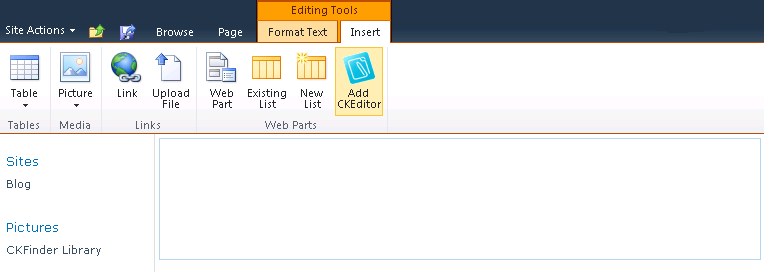
Choose the Insert tab from the Editing Tools ribbon, and click the Add CKEditor button.
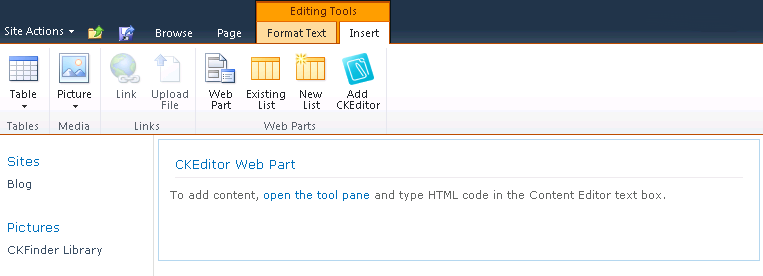
CKEditor Web Part will now be added to the designated part of the page.
To modify the content of the CKEditor Web Part, open the web part tool pane by clicking the "open the tool pane" link or choosing the Edit Web Part option from the drop-down menu.
You can customize the look and feel of the CKEditor Web Part by using the Appearance, Layout and Advanced configuration options expanded by clicking the ![]() icon.
icon.
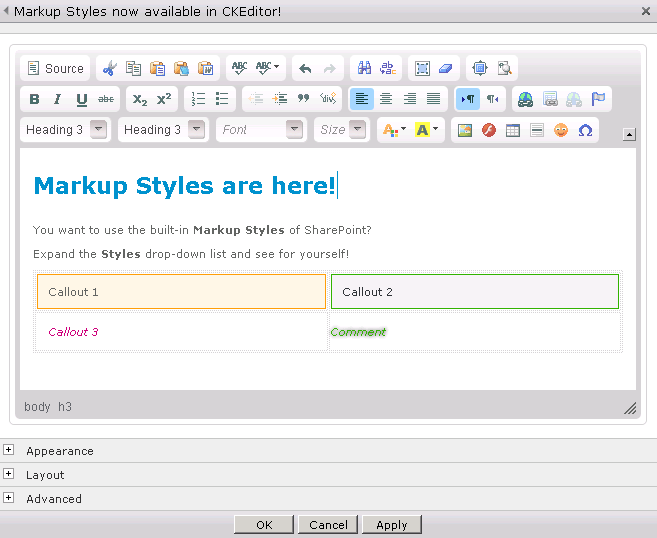
If you are happy with the CKEditor Web Part settings, you can start adding and formatting content using the advanced capabilities of CKEditor. Since CKEditor automatically integrates with the SharePoint platform, you can use the Markup Styles that are built in SharePoint 2010 directly from within the Styles drop-down list of CKEditor.
When you are happy with the web part content, click the OK button. The content you just created will appear as seen in the editor window.
