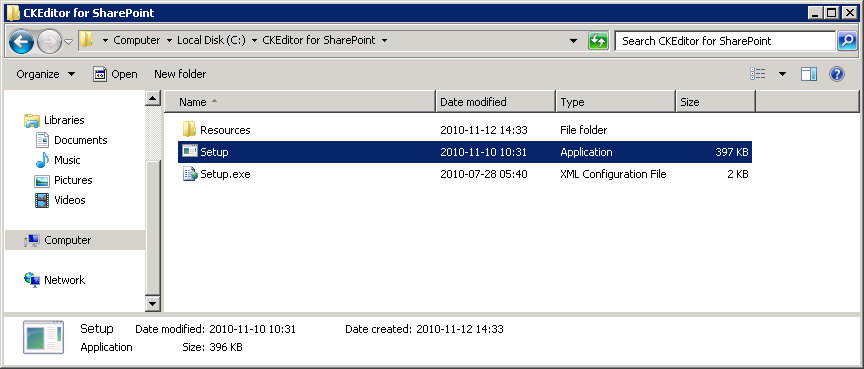
To install CKEditor for SharePoint, download the latest version from the product site, unpack the archive, and run the Setup.exe file.
Important note: To install CKEditor for SharePoint, the following prerequisites must be met:
- You must be the SharePoint Farm Administrator.
- The following Microsoft Windows services must be running:
- SharePoint 2010 Administration service
- SharePoint 2010 Timer service
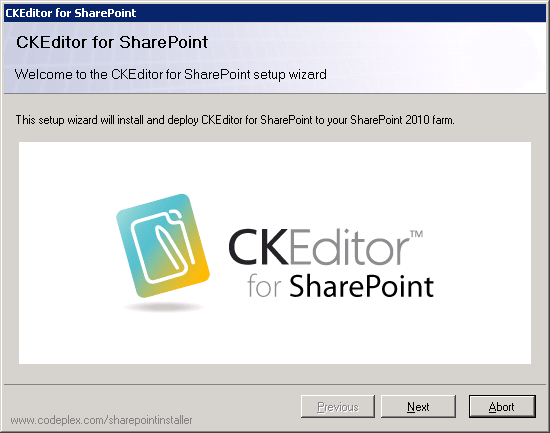
After you run the Setup.exe file, the CKEditor for SharePoint setup wizard will open. It will guide you through the installation process.
If you are ready to begin the installation, click the Next button. If you want to cancel the installation process at any time, click the Abort button.
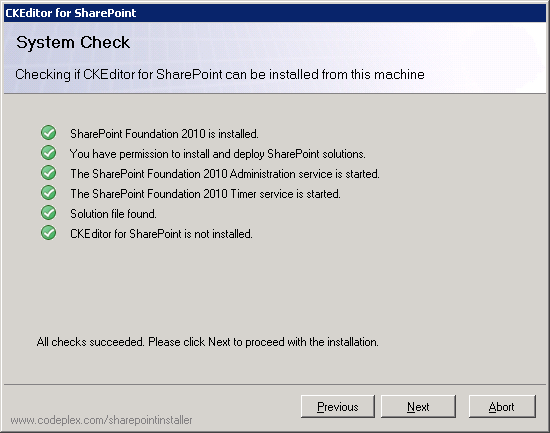
Before the package is installed, a system check must be run to confirm that the installation prerequisites are met.
If all checks succeed, you will be able to proceed to the next installation step.
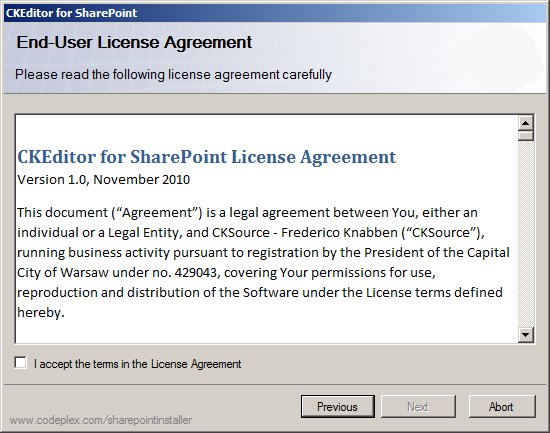
First, however, the terms of the End User License Agreement (EULA) need to be accepted.
After you accept the License Agreement, the Next button becomes active and you can proceed to the next step.
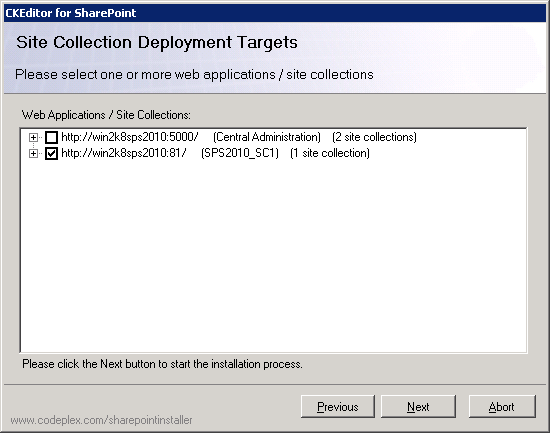
The Site Collection Deployment Targets screen lets you select one or more site collections where the solution will be deployed.
When you select the deployment target(s) and click the Next button, the installation process will begin.
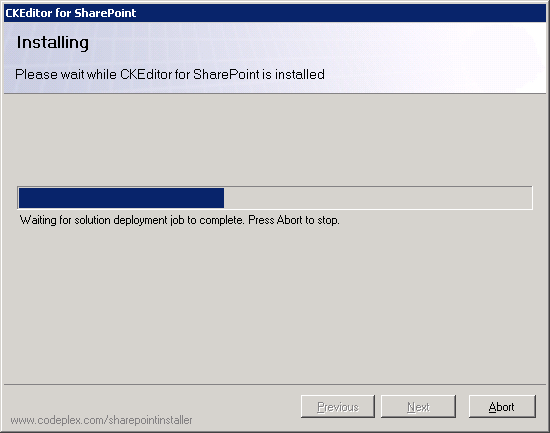
The progress of the installation process will be displayed in the Installation screen.
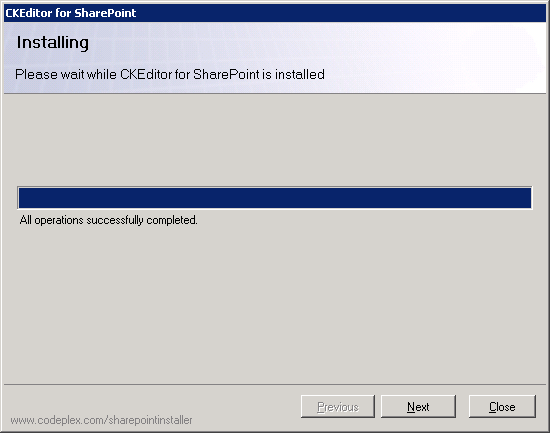
When the installation process is completed, you can click the Next button in order to view more details.
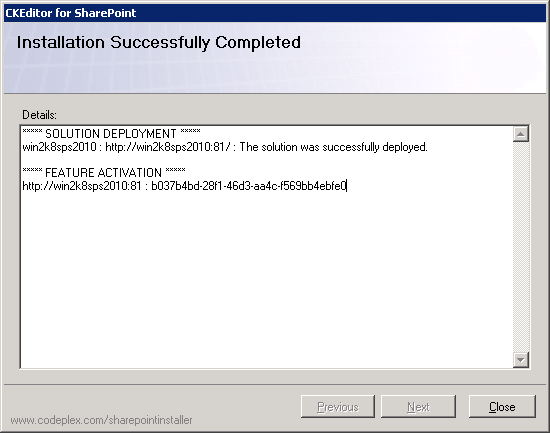
The details screen shows you a summary of all actions performed by the setup wizard.
You can now close the setup wizard by clicking the Close button. Your CKEditor for SharePoint is ready to use.
