The installation of the CKEditor for Joomla! extension is as easy and quick as it could only be. Follow the steps below to enjoy your brand new editor in your Joomla! site.
Step 1: Download
Download the latest installation package from the official CKEditor for Joomla! site and save it on your local computer or a directory on your server. Alternatively, you can skip the download step and use the Install from URL option described in Step 3 below.
Step 2: Extension Manager
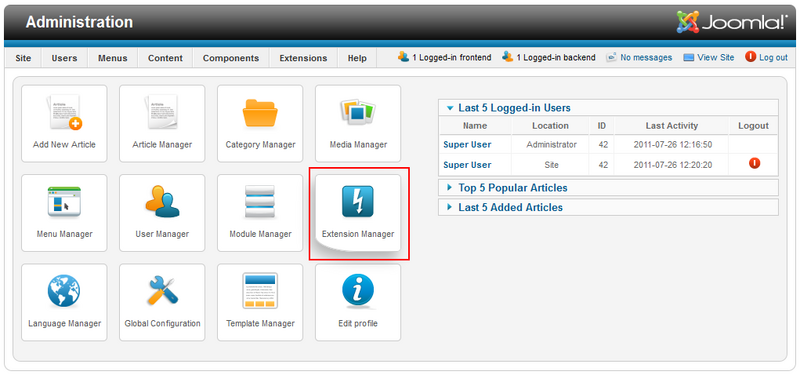
Enter the Administration section of your Joomla! website and open the Extension Manager.
Step 3: Add CKEditor Package
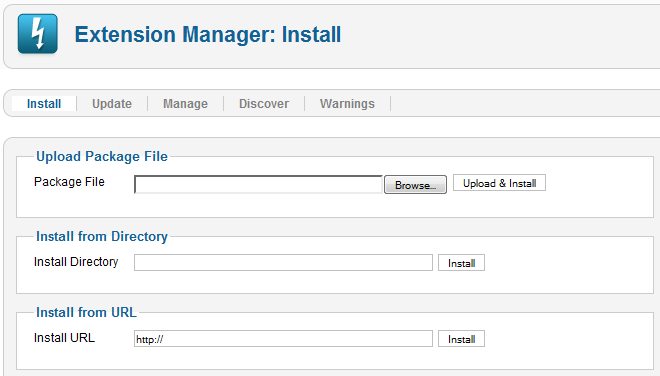
The Extension Manager section lists three methods to install CKEditor for Joomla!. You can either upload the file from your local computer, install it from the directory on your server, or point to the installation package URL.
In order to install from the local computer, go to the Upload Package File section and browse your local disk for the downloaded CKEditor for Joomla! package file. Press the Upload & Install button to send the package to your server and install it automatically.
If the CKEditor for Joomla! package has already been uploaded to your server, go to the Install from Directory section and give the install directory that contains the package. Please note that the package must be unpacked. Press the Install button to install it automatically.
You can also point Joomla! to a URL of the CKEditor for Joomla! package. Go to the Install from URL section and enter the URL of the installation package. Press the Install button to install it automatically.
Step 4: Automatic Installation
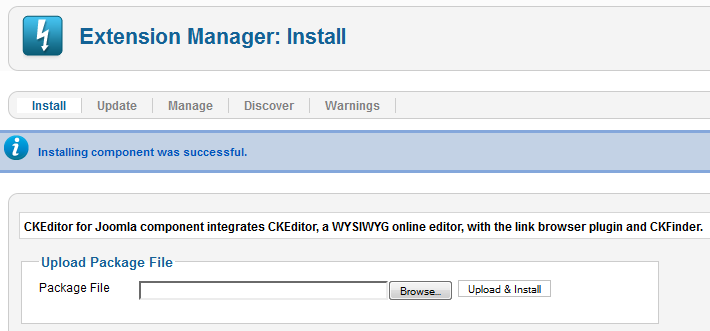
When you press the appropriate button, the CKEditor for Joomla! package will be automatically installed. On successful installation a confirmation message will be displayed.
Step 5: Default Editor
Choose Site -> Global Configuration from Joomla! Administration menu. In the Site Settings section change Default Editor to Editor - CKEditor. Save the revised configuration.
You can now use CKEditor with its default settings on your Joomla! website, like in the figure below, or customize it to your needs if required.


