The look and feel of the editor installed in your Joomla! page can be modified to suit the character and style of your website. This article will explain how to add custom styles, CSS files, and templates to your CKEditor installation.
Adding Styles to the CKEditor Styles Drop-down List
If you want to add and display additional styles in the editor Styles drop-down list, proceed as described below.
First of all, you need to create the JavaScript file containing style definitions. Pay special attention to the definition format. You can also take the default file that is distributed with CKEditor for Joomla! and adjust it to your needs.
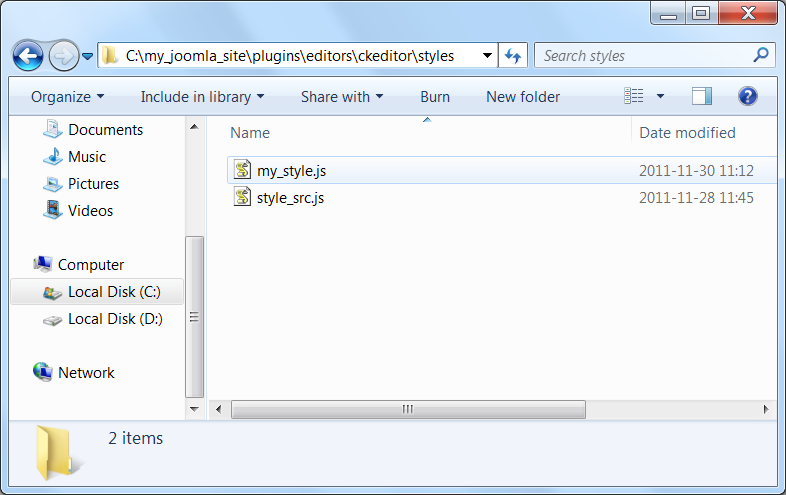
The style definitions file needs to be added to the Joomla_site/plugins/editors/ckeditor/styles directory.
addStylesSet definition must be the same as the file name without the .js extension, like in CKEDITOR.addStylesSet( 'my_style', ).
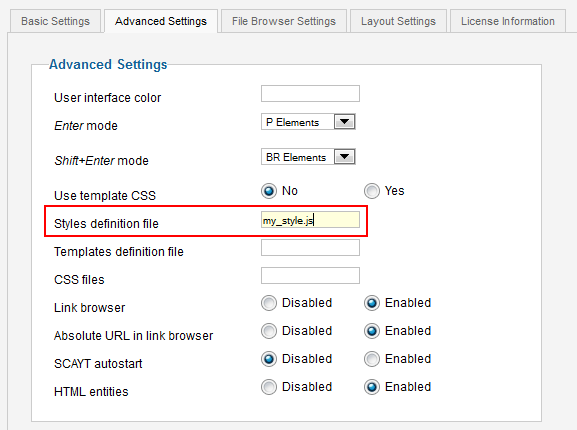
When the file is added, enter the CKEditor Configuration section in Joomla! Administration. Go to the Advanced Settings tab and add the style definition file name (in this example my_style.js) to the Styles definition file field.
Your newly defined styles will now be displayed in the Styles drop-down list and used in the editing area of CKEditor.
Adding CSS Files to CKEditor
If you want to add additional CSS files to CKEditor, proceed as described below.
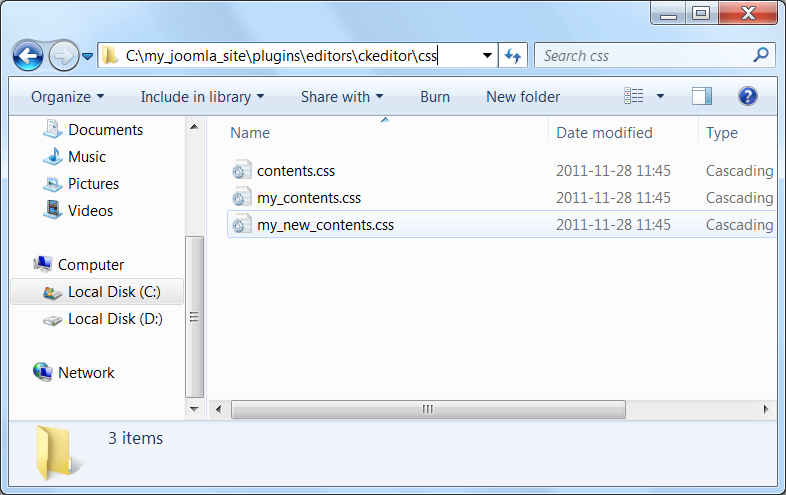
Once the CSS files are created, upload them to the Joomla_site/plugins/editors/ckeditor/css directory.
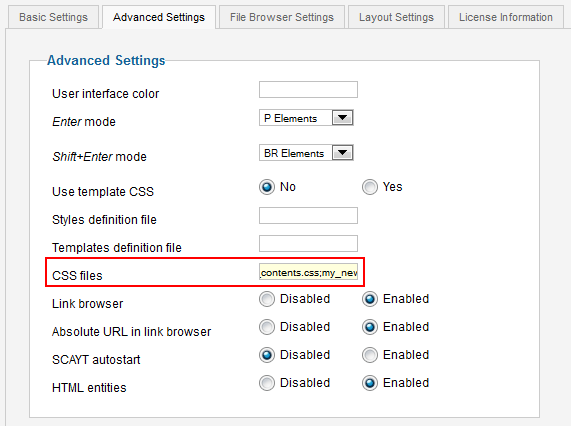
After the files are added, enter the CKEditor Configuration section in Joomla! Administration. Go to the Advanced Settings tab and add the semi-colon separated CSS file names (in this example my_contents.css;my_new_contents.css) to the CSS files field.


