(→Properties) |
(→Properties) |
||
| Line 42: | Line 42: | ||
And checkbox option: | And checkbox option: | ||
| − | * '''Enable Flash Menu''' | + | * '''Enable Flash Menu''' if user check this option context flash menu will be enable. |
| − | * '''Auto Play''' | + | * '''Auto Play''' if user check this option flash will start immediately. |
| − | * '''Loop''' | + | * '''Loop''' if user check this option flash will play in loop. |
| − | * '''Allow Fullscreen''' | + | * '''Allow Fullscreen''' if user check this option flash may be shown in full screen. |
Revision as of 08:34, 7 September 2010
Inserting Flash in CKEditor is very simple task. To add flash press the ![]() button on the toolbar. A popup window called "FlashProperties" appears. It includes four bookmarks:
button on the toolbar. A popup window called "FlashProperties" appears. It includes four bookmarks:
Contents
General
The first bookmark named "General" refers to:
- URL: defines the URL address of the flash object. You may also use the "Browse Sever" in order to browse the files.
- Width: specifies flash object width.
- Height: specifies flash object height.
- HSpace: defines the size of the horizontal gap.
- VSpace: defines the size of the vertical gap.
- Preview: in this window user may view how the window looks with the added flash object.
Pressing "OK" inserts the image with the specified properties.
Upload
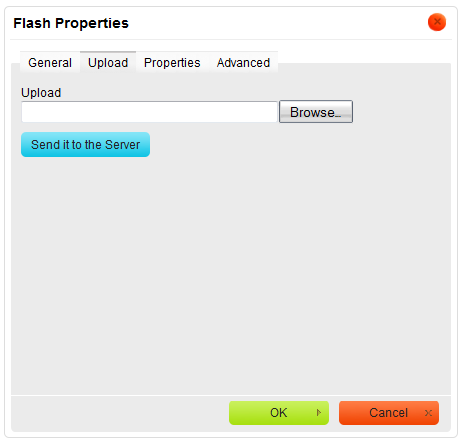
The second bookmarks refers to "Upload" option:
- Upload: specifies the location of the flash file on your local hard drive. User may also use "browse" instead of typing the location manually.
Pressing "Send it to the Server" sends the flash object to the server.
Properties
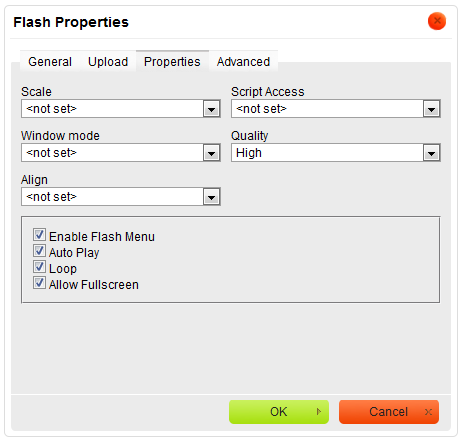
The third bookmark is the "Properties" section:
File:CKEditor properties flash.png
This bookmark allows user to set following option:
- Scale specifies scale of the flash object. User may choose one from: Show all, No Border, Exact Fit.
- Script Access specifies how to run external scripts. User may choose one of three option: Always, Same domain, Never.
- Window mode specifies how to window looks like. User may choose one from: Window, Opaque, Transparent.
- Quality: specifies the quality of the flash object. User may choose one of six option: Best, High, Auto High, Medium, Auto Low, Low.
- Align: specifies the alignment of the flash object. User may choose from: Left, Abs Bottom, Abs Middle, Baseline, Bottom, Middle, Right, Text Top or Top.
And checkbox option:
- Enable Flash Menu if user check this option context flash menu will be enable.
- Auto Play if user check this option flash will start immediately.
- Loop if user check this option flash will play in loop.
- Allow Fullscreen if user check this option flash may be shown in full screen.
Press "OK" to save the changes.
Advanced
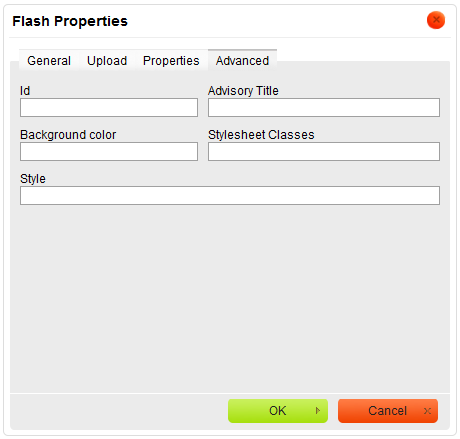
This bookmark allow user to set advanced properties:
- Id: specifies the ID of the flash object.
- Advisory Title: specifies the description of the target object.
- Background color: sets background's color.
- Stylesheet Classes: specifies the name of the CSS class.
- Style: specifies the style.


